Use the fabric the pattern asks for
Make your sample in the stitch pattern and knitting method specified by the designer, using your proposed yarn and needles. Allow enough fabric to measure an interior area away from distorted edges. Follow the designer’s swatching instructions when provided.
Wash, dry and record the conditions
Treat the swatch as you intend to treat the finished piece, following the yarn’s care directions. Measure after it is dry. Record whether it was washed or blocked so a later comparison refers to the same condition.
Measure an area, then count inside it
Record the width and height of the measured area, along with its stitch and row counts. If you count across 10 cm, you already have a per-10-cm number. For another width, use stitches ÷ measured width in cm × 10; use the corresponding height formula for rows.
A small difference can affect size
For example, 24 stitches across 10 cm is tighter than a recommendation of 22 stitches per 10 cm. At that measured gauge, 110 stitches span about 45.8 cm rather than 50 cm. This is a simple width estimate, not a garment resizing instruction; shaping, stitch pattern and finishing also matter.
Save it in Purl & Paper
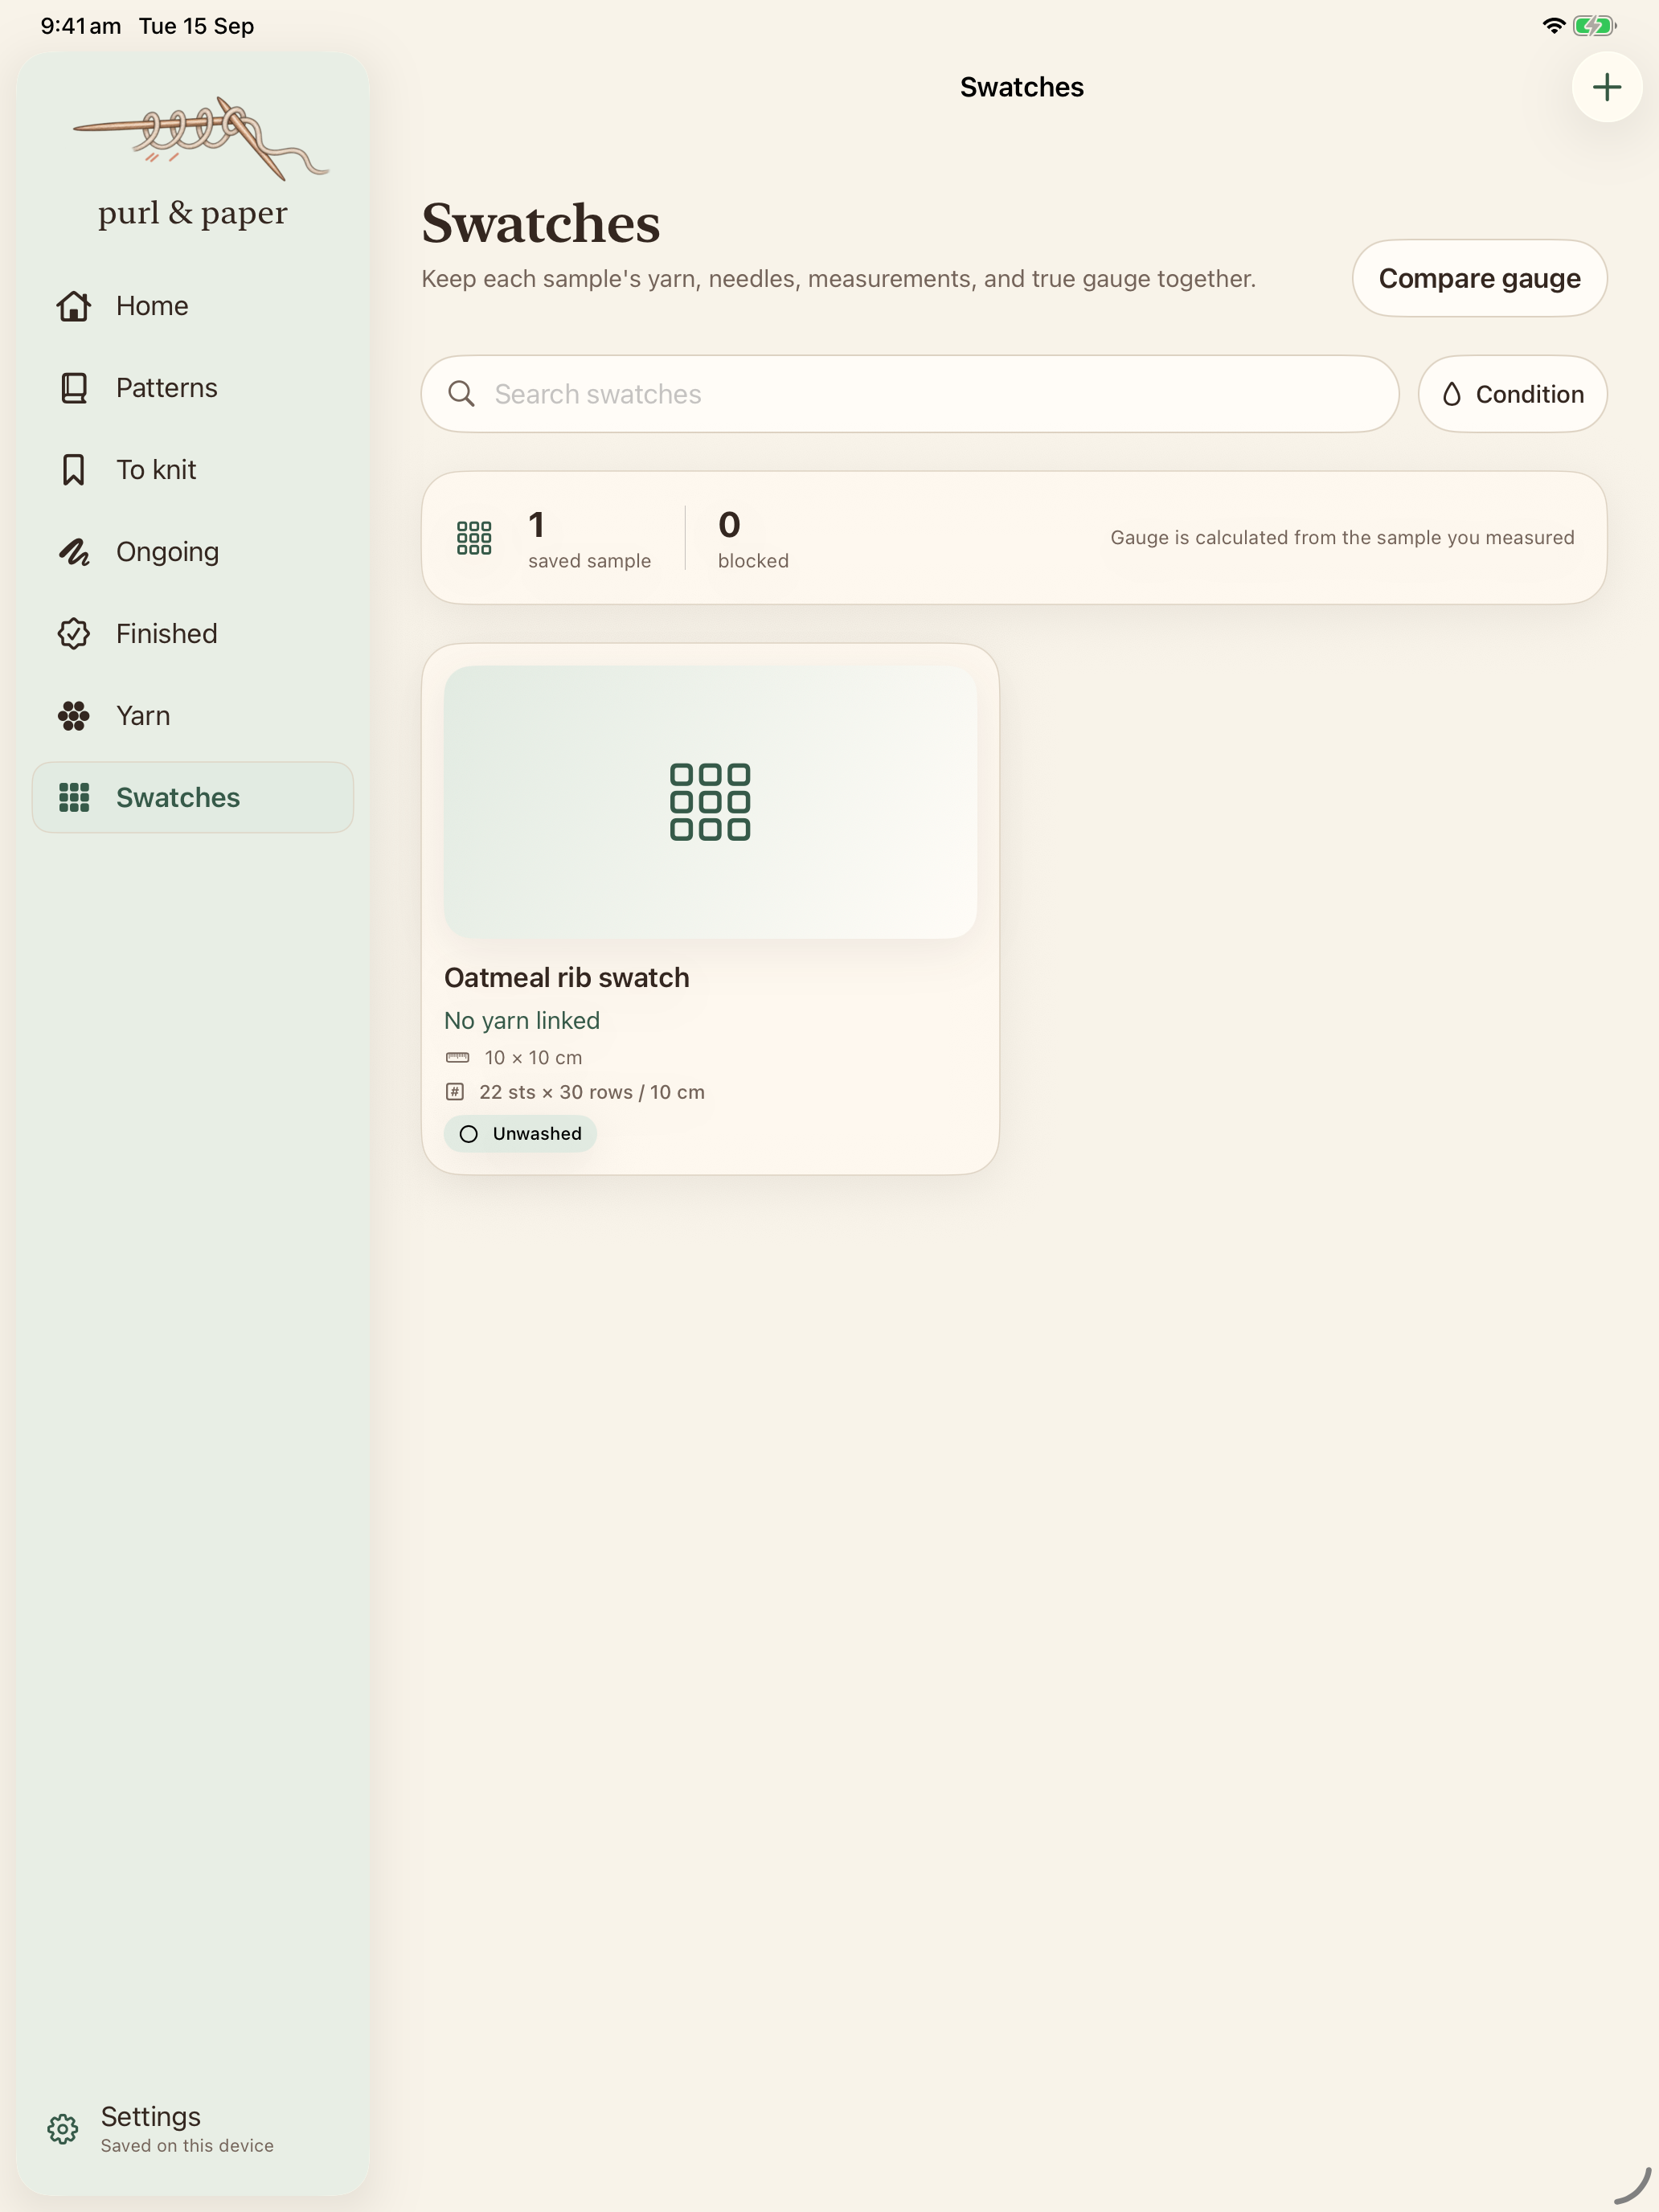
Add a Swatch with a photo, yarn, needles and measurements. Enter the pattern’s recommended stitches and rows per 10 cm in the pattern details, then use Compare gauge from Swatches. Check that your inputs describe the measured area, not a different part of the sample.
Decide what to try next
If your gauge differs, follow the pattern’s advice and knit another sample after changing needles or yarn. Recheck both stitch and row gauge. Also assess the fabric by hand: matching numbers does not ensure matching drape, elasticity or appearance.
This guide covers the current release. Your imported pattern’s instructions remain the source of truth for the project.
See it in the app